Method 1. Creating a new point
file in an ArcView view.
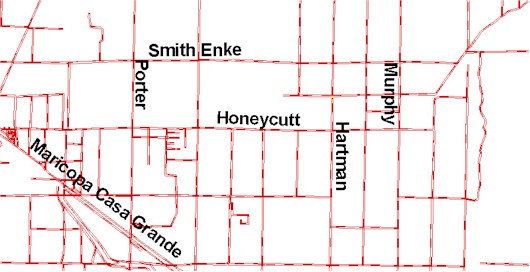
Open an ArcView project, open a view with baseline
maps, and zoom in to the area of interest as explained in Step
1. For example, your view may look something like this:
And your paper map may look something like this
(below) with black pen marks indicating the approximate sample locations:
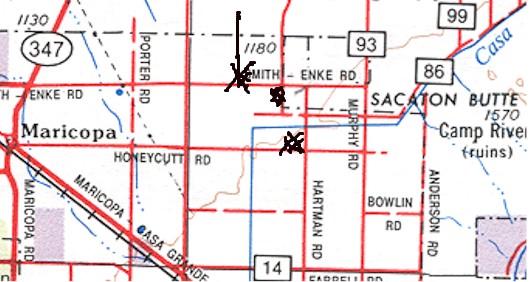
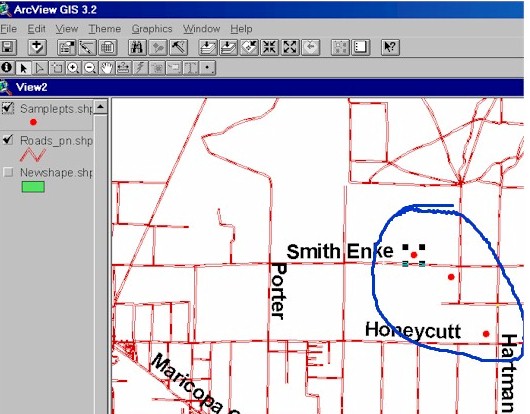
We want to create a point shapefile in ArcView
with points at NW of the corner of Hartman Rd and Honeycutt Rd and north
and south of Smith Enke Rd in the approximate locations of the pen markings.
The points are a little over 1 km apart.
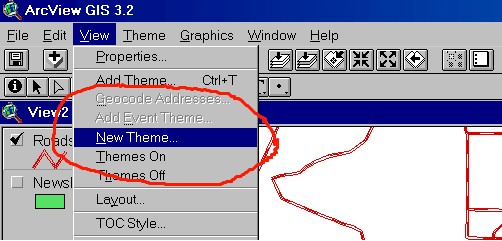
In ArcView, select "New Theme" from the drop down
menu under "View" in the View window as shown below:
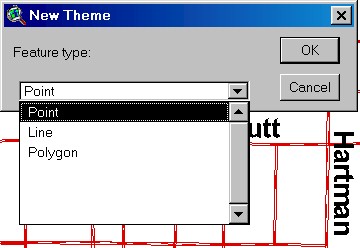
Select point theme from the "New Theme" window.
Browse to the appropriate directory and name the
shapefile:

Notice the shapefile samplepts has been added
to the "Table of Contents" of the view and the white box to the left of
the name is has a dotted line border (see below). This means that
the shapefile is in "edit mode" and points can be added, moved, or deleted.
Points are added using the "Draw Point" icon:
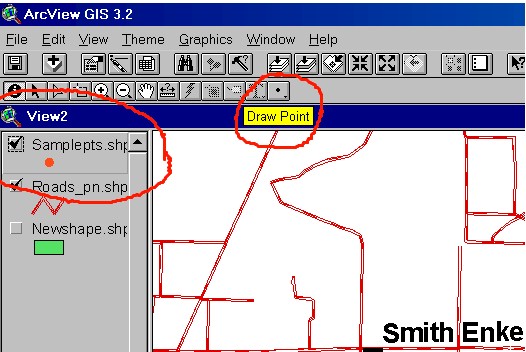
Press the draw point icon to bring up the add
point cursor which we use to mark the location of the points on the base
map in the ArcView view corresponding to the sketch on the paper map. See
below:
Use the Theme Drop Down menu to save edits and
stop editing:

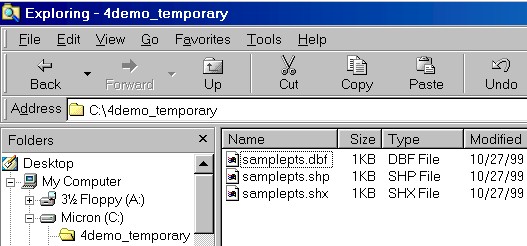
The result is a point shapefile which consists
of 3 files as shown below in the Windows Explorer:
To edit a shapefile after it has been created,
highlight the shapefile name in the view table of contents and select start
editing from the Theme drop down menu as shown below. Then new points
can be added to the shapefile or existing points moved or deleted.

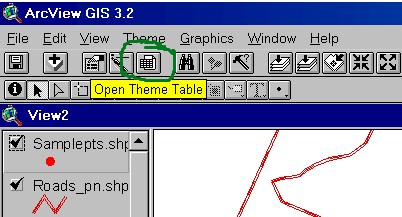
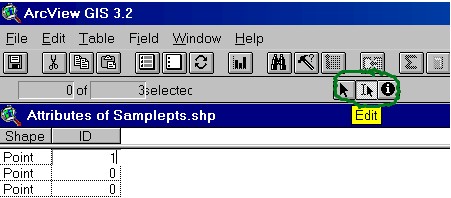
While the points are being placed on the map,
they need to be labeled with the sample id. This is done by activating
the table for the shapefile by pressing the table button on the tool bar
to display the table. Select tile from the Windows dropdown menu to display
both the table and map simultaneously.
Activate the cells in the table with the edit
tool icon in the Table window, then type in the id numbers.
Return to previous page
Go on to Method 2 for creating a point shapefile.